
Making a quick introduction video for your course, from home.
Introducing yourself and your course in an introduction video provides a human element that can have a lasting first impression that gets people excited about learning about your course, from you. Now, you may ask: This sounds like a lot of work! or I’m not good in front of a camera! To that, we say: Introducing yourself should be both comfortable and natural. There is no single way to do it... you only have to be sincere and authentic.
In this document, we will go over what it takes for you to create a great introduction video. We will offer some advice on what to write for your introductory video (e.g., who you are, what the course is about, where students can explore the content); what technologies you can use; and how you can go about sharing it.
To create the video, you are going to need the following:
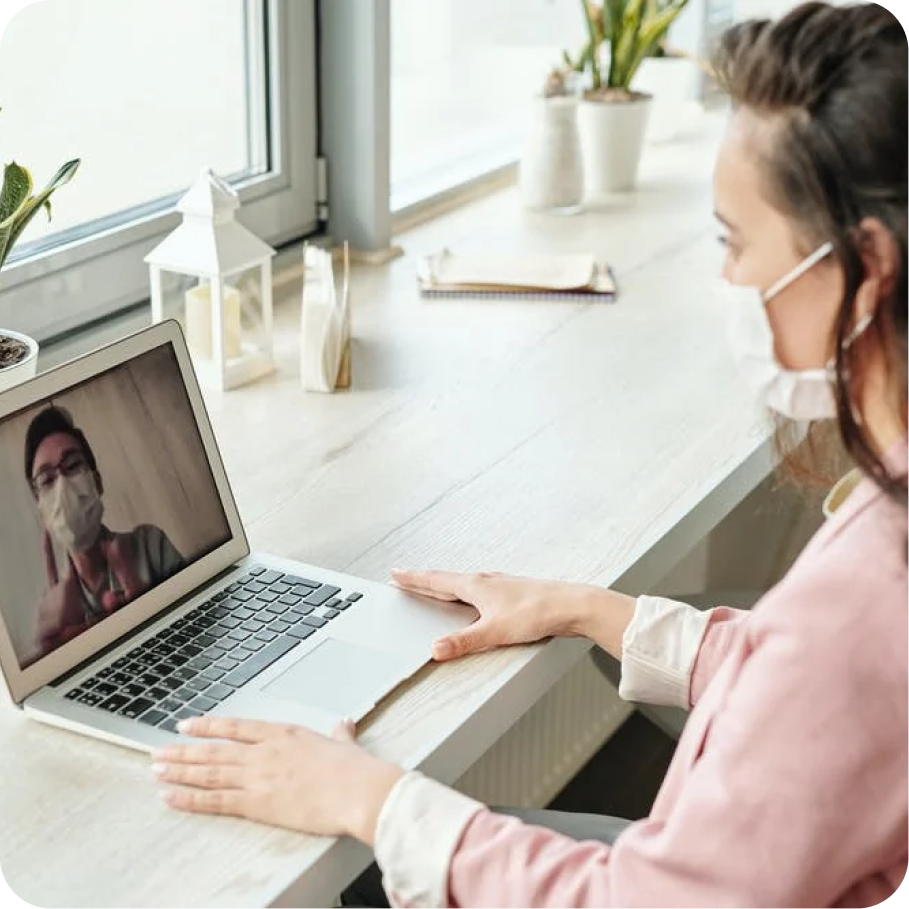
 A quiet room
![]()
Video Friendly Attire
![]()
Most importantly, what to say
Let’s go over these elements one by one. It’s a good time to note that all of this advice can be extended to any lecture recordings or virtual meetings you will likely be doing.
A Quiet Room

You likely have a space in your home already carved out to do your work. Generally, you’re looking for a spot that has good lighting (or potential for good lighting—more on that later) and is well defended from excessive or sudden, loud sounds, such as cars and buses from the street; ambient noise, like an old refrigerator; or noisy neighbours and more likely… noisy housemates. The ideal space for your recording will have some visual interest behind you. A brick wall, or some interesting art. Possibly you have a plant or tree on a bookshelf. You can help your viewers to better understand you by placing yourself in an environment that speaks to your personality. Otherwise if you don’t have that environment set up already, you can add bits and pieces behind you that help non-verbally tell your viewers who you are. Think of it like you are the set designer for your own TV show.
A electronic device with a webcam and a microphone

In this section, we will look at how you can create your videos by using either a smart phone or tablet; or by using a computer.
Smart phones and tablets:
Using a smart phone or a tablet for recording should be a fairly straight-forward process. Most phones and tablets will come with cameras and microphones already built in.One of the easiest ways to enhance the quality of your phone or tablet’s video is to attach it to either a desktop tripod, or to an existing tripod with an adaptor.
For desktop use, Joby makes excellent hardware. Many of their products can also be adapted to hang on to furniture or other fixtures. If you are looking for more budget-conscious options, you will find many online at most popular retailers.
Both Apple’s iOS and Google’s Android OS based devices come with their own built-in Camera software. It is highly likely that you have already used this software countless times for taking pictures and videos already and it will work perfectly for this occasion too.
The biggest issue, next to proper lighting, that you will encounter with using a phone or tablet to record any video will be the audio. These devices built-in microphones vary in quality and quantity. To ensure that you’re fine with the quality of your device’s audio quality, we recommend that you do a test recording, and then listen to it with headphones on. Check for how much background noise there is, and if your voice is too loud, or too soft. If you have any issue with the sound quality, then you should consider an external microphone, you may already have some headphones laying around that have one built in.
External microphones come in many varying options and price points. The key things to look for when purchasing an external microphone for your device is to ensure that it will connect to your phone or tablet. For an Apple device, you’re looking to see if it’s connecting over Bluetooth or if it physically connects to the Lightning port or headphone jack. Android users will likely be able to use headphone jack-based external microphones, though newer devices may no longer come with that option.
When it comes to recording on your device, you will have to consider whether or not you use the front, or the rear-facing camera. Many devices will record the front-facing camera at around 720p resolution. This is fine for most people, and it has the added benefit that you can launch, focus, frame, and start and stop your recordings. If you prefer to unlock the full potential of your device’s camera, you will have to use the rear-facing camera as it will have a bigger sensor and better lenses. It will also record in a higher resolution, with some going as high as 4K.
For both front-facing and rear-facing options, pay attention to the auto-focus. Your video may go fuzzy as the camera tries to find you in the frame. The two most common times this will happen is either when you walk into the frame of the camera after you start to record; or by rocking your body towards or away from the camera. You will see this at times with even seasoned YouTube creators, where the focus will try to adjust.
Phones and tablets will allow you to directly post your video to YouTube and you can then share that link with students. Most often, you will want to share your videos on YouTube as Unlisted videos. To do this you’ll need to create a YouTube account. Follow these instructions to use the YouTube App to upload your video.
Computers:
Most computers that are five or six years old or newer will have a webcam and a microphone built into it. All laptops from that time period will definitely have varying qualities of webcam and built-in microphones already in them. Apple iMacs and MacBook laptops have built in cameras and microphones for over the past 10 years. Depending on the brand and style of any Windows computer, your results may vary. If you have a desktop computer, or an older (but still capable) laptop that does not yet have a webcam and microphone, or if you simply want a better quality video, then you can research online to find a USB webcam that can do 720p HD recording at around 5 megapixels. Amazon and Staples (to name two) will sell these items. The price can go from forty dollars, all the way to over two-hundred dollars. If you are only doing introductory videos and meetings, then you’ll be more than happy at the lower end of the spectrum. For example, the Logitech C310 HD Webcam costs around $70, and is a great overall webcam for this application. Both Logitech and Microsoft deliver good quality webcams with a broad range of support for both Mac OS and Windows (and Linux). Likewise, if you want to—or you need to—get a better microphone, then you can look into USB microphones that will provide you with a better-quality sound. Much of this will be either due to a better-quality microphone with built-in software that will provide noise cancellation or, it will be due to the fact that the USB microphone can sit closer to you. Cost for such devices can range from a fifty-dollar USB headset/microphone such as a Logitech headset, up to the Blue Yeti. Overall, USB microphones from Blue will be a great addition to your home recording experience. One other tip for better quality sound would be to use headphones with a microphone built into it. The older wired headphones that used to come with cellphones are great and can be plugged in to the auto-sensing headphone/microphone jack on any contemporary laptop or desktop system. Another option is to use Bluetooth headphones (provided your computer has Bluetooth functionality). The Media is rife with talking head interviews speaking to each other over Zoom or Skype with Apple’s ear pods or other truly wireless earphones. These devices will work great for your introduction video as well.
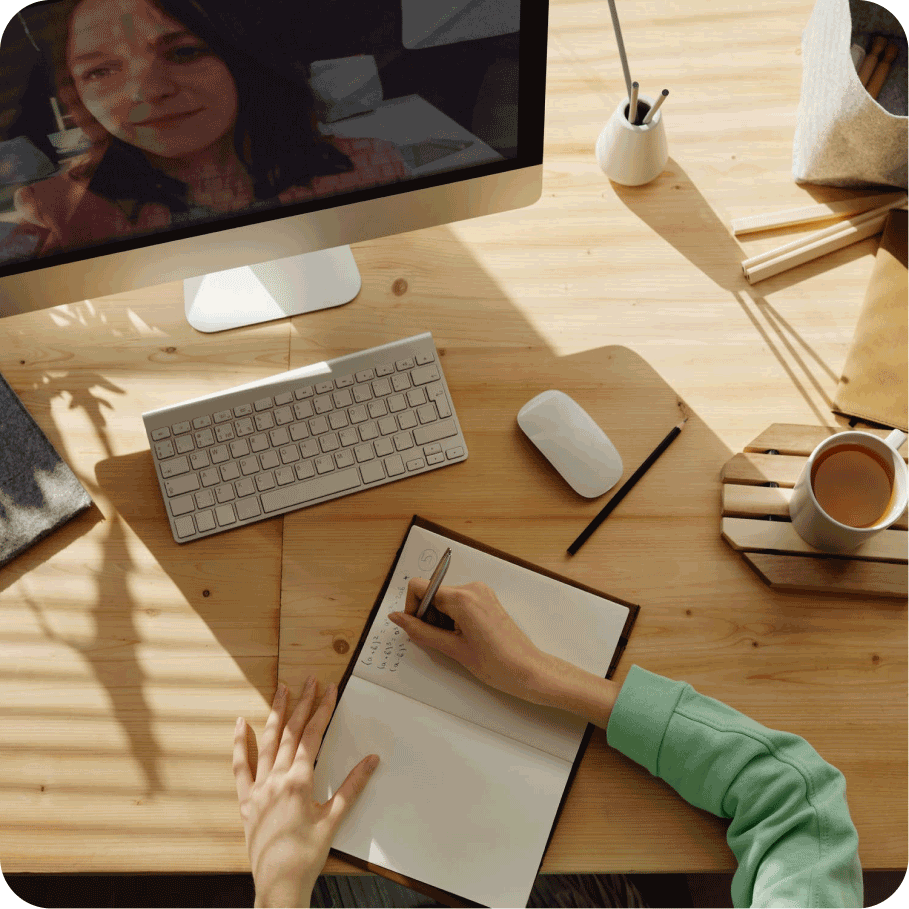
Video recording software on your computer
We need to look at this process in two separate steps.
First, we need to record your webcam video. To do this, we will look at the built-in software available in Windows and Mac OS: Make your recording using either the Camera App (Microsoft Windows 8 and 10) or with QuickTime (Mac OS). Instructions on how to use these applications to record your video are below:
Next, we have to share these videos with your class. To do this, we recommend that you use YouTube. If you do not yet have a YouTube account, follow these steps to create one. Once you have a YouTube account, you can quickly and easily upload and publish your videos. Doing so will provide you with a link that you can then share with your class wherever you like. Take a look at the Instructions on uploading and publishing your video. Most often, you will want to share your videos on YouTube as Unlisted videos. If you do not want to publish your content to YouTube, you can opt to use Zoom @ York’s conferencing software to make an introduction video. This option has the added benefit of allowing you to use the Virtual Background setting in Zoom. For Zoom, you will need to have a Zoom Pro account. Given the fact that everyone is teaching and learning remotely, there’s a good chance that you have Zoom installed, and that you’ve been introduced to it already. If you haven’t, then you can go to https://yorku.zoom.us to get started. Recording yourself in a private Zoom meeting is as easy launching a new meeting in Zoom. Once you’re in the meeting, click the Record button, and choose Record to the Cloud to start capturing your introduction video. Once done, click the stop button. Zoom will convert the video, and then provide you with a link that you can share wherever you like. Another option would be for you to leverage Zoom for its Virtual Background capabilities but use YouTube to share your video. To do this, choose to Record on this Computer when you click the Record button. Once you’re finished recording your video, you will click the stop button. This time, Zoom will convert the video into an MP4 format on your computer. You can take that video and Upload it to YouTube by following the information provided above.
Some Basic Lighting

We mentioned previously that your space should have some good lighting… or potential for good lighting. The best recording space in the world will look terrible without good lighting. Here’s a basic rundown of what you likely have, and how to make it work for you. The most important things to consider when recording video (or even just for meetings) is to face a window, or to sit at approximately a 45° angle from it. Ambient light is much brighter than your eyes can tell. Even on a cloudy day, you may find that the light may be too much. To that end, you will likely want to use a (preferably white) curtain to cover the window. A curtain will also diffuse the light and provide you with softer, more complimentary lighting. Unless the room you are in is very bright with only the ambient light from outside, then you’ll likely also need to use indoor lighting. Normal desk lamps can be used to provide this extra light source. There are many tutorials online that will show you how to do this.
Here are a few:
Much of what was covered in the previous links works exceptionally well for rooms with no windows because you have the unique advantage that you can control 100% of the lighting. This is great if you plan on recording multiple videos and you want some consistency to the overall look and feel of the recording.
Video Friendly Attire

One of the biggest issues with being in front of the camera is clothing and jewelry. There are some basic rules that you can follow to ensure that you will look your best for your video(s). Patterns can be problematic (See: What NOT to Wear on Camera, link below). Generally, it’s the very small patterns such as hound’s tooth that make the most trouble. This has to do with how the camera sees the pattern. Very much like optical art, tight patterns will seem to be moving when played back on screen. If you have to wear patterns, make sure they are big and definitely not black and white. If you’re not sure, then don’t wear any patterns. Make sure that you don’t choose attire that matches the background of your space. If your background is very busy with patterns, etc., then balance that out with a flat, bright colour. Conversely, if your space is muted and devoid of interest, then you can wear clothing that has some interesting designs and/or colour to it. Play with contrasts and see what works the best for you and your comfort. The key is to have contrast so that you don’t get lost in the background.

Bad Visibility

Good Visibility
Finally, jewelry is fine, but you will want to avoid any jewelry that will make noise as you move about your space in front of the camera. For example, multiple bangles on your wrist will add unwanted metal clanging noises. Necklaces and earrings should follow the same rule. Whatever you wear, you will want to ask yourself if it will make noise through your movements. If the answer is yes, then consider a different piece.Some good references are found here:
And most importantly, what to say

You will want to come up with a plan of what to say and in what order. Much of this will fall under your own style of delivery. There is no real, correct way of doing this, and this will be your best opportunity to show your students your personality, while also getting them excited about embarking on a journey of learning from you for the duration of the course. You will want to include:
- Your name
- Who you are (What you teach/research)?
- The course code section(s) and title
- What the course is about
- Why your students should be excited to be there; and
A hook or triggering event to excite student’s passion about learning the content (for example, this could be to ask students to enter the first ‘introductory’ discussion forum where they share something about their self and/or perhaps respond to a question you pose about the content in the course) .To ensure that your delivery will flow properly, consider writing out a script so that you can structure your information in a way that makes sense to you. Take the time to read it out loud as you go along, so that you can hear how it all sounds. This will help you to refine the dialogue so that you will have proper breaks in your script to allow for breathing or other pauses. Once you have a script written out, make the font-size large enough that you can comfortably read it without having to pause and search for your next line.
Recording Your Video

With everything ready to go, you are properly seated in front of your computer. You are sitting nice and straight and at a comfortable enough distance that you are happy with your orientation on the screen. Some of you may want to be closer to the camera, while others may want to sit back a bit so that your hands are visible. As with a lot of these recommendations, they will be guided by your level of personal comfort. The key with all of this is to feel good. If you can project that feeling into your video, your viewers will pick up on that and will likely want to keep watching. Before you commit to recording your introduction video, and no matter what software you end up recording in, please do a test recording. This will allow you to ensure that your video is recording, and that your microphone is at the right level, before you try to commit to recording a single-take introduction video. Don’t forget that you are a human being who is trying to communicate with other human beings. Try to remember that if you have a pause, or if you ever so slightly mispronounce a word, that you should keep recording. You may find that when you play it back, that it will add to your authenticity. Another person will be able to view your introduction through a more objective lens. If you can, have someone other than yourself look at the video. We are our own worst critics. Making an introductory video will help everyone to see your common humanity.
Help is always close at hand
If you have any questions or if you need any assistance while working on your video, please contact us. We are happy to work with you.